
DIY-ing Your Website?
Let Me Help With Some Tips to Get You Started
When you first start thinking about your website, you might be thinking: "This is easy - I'll just quickly put something together, and it'll be fine!"
But three weeks later, you're confused, stuck, and seriously considering throwing your laptop out the window.
Let's avoid that. Here's how to plan your DIY website so you don't lose your mind in the process.
Why Planning Actually Matters (Even for Chronic Do-ers)
Now, I hate to say it - because I'm a terrible planner (honestly, I prefer doing to planning) - BUT I've learned that just a little bit of planning makes things go so much more smoothly. Who knew?
Grab some paper and a pen (pencil, felt-tip, crayons - anything works). We're going old school.
Step 1: Map Out Your Pages
Start by listing all the pages you want on your site. Here's a basic structure for most female founders:
Essential Pages:
Home
Services
About
Testimonials
Contact
Secondary Pages:
Case Studies/Projects
FAQs
Privacy Policy
Terms & Conditions
You might need more depending on your business - just brain dump everything you think you'll need.
Step 2: Organize Your Navigation
Now think about how these pages connect. Your Home Page is prime real estate - the first thing visitors see.
Keep your main menu simple:
Header Navigation: Services, About, Testimonials, Contact Footer Links: FAQs, Privacy Policy, Terms & Conditions
Don't clutter your main menu with every single page. Your visitors' brains will thank you.
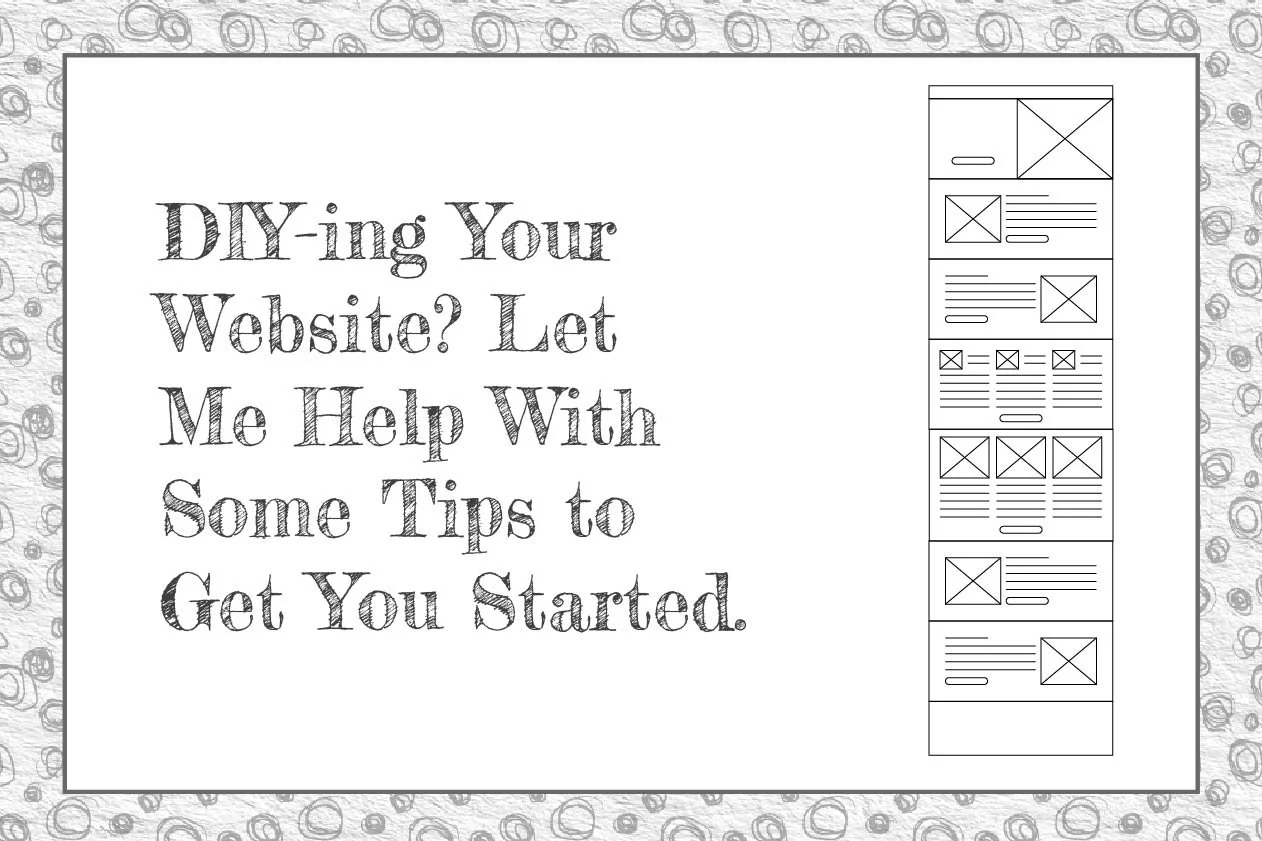
Step 3: Wireframe Your Home Page (AKA Smart Sketching)
"Wireframing" sounds fancy, but it's just sketching a rough layout. Use boxes for images, lines for text, buttons for... buttons. Keep it super simple.
Important rule: Mix up your sections with text and images. Nobody wants to wade through heavy blocks of text.
Your Home Page Blueprint
Header Bar: Logo and navigation menu. Maybe add social media icons (but don't go mad).
Hero Section: A big, relevant photo of you or your work. This is "above the fold" - what people see immediately. Include a headline about who you help and how, plus a bold call-to-action button like "Book a Call."
Key Sections to Include:
The Problem You Solve: What challenge does your audience face? Add a relevant photo and - yes - another CTA button.
Your Services/Process: Explain what you do and how it works.
Social Proof: Testimonials with photos if possible. Trust-building gold. Plus another CTA.
How to Work With You: Simple breakdown of your process.
About Preview: Your photo and short intro. Save the full story for your About page.
Email Sign-up: If you have a lead magnet or newsletter.
Footer: Logo, contact info, menu links, social media.
Why This Planning Actually Helps
Sketching this out gives you clarity on:
What copy you need to write
How many images you'll need
The flow and structure of your site
Things will definitely evolve as you build (they always do), but having this roadmap makes the whole process so much smoother.
Ready to Build?
Remember, your website doesn't have to be perfect - it just needs to clearly communicate who you help and how they can work with you.
And hey, if you get stuck and need someone to untangle the mess, you know where to find me!
Get in touch - I love helping female founders move from DIY chaos to professional clarity.